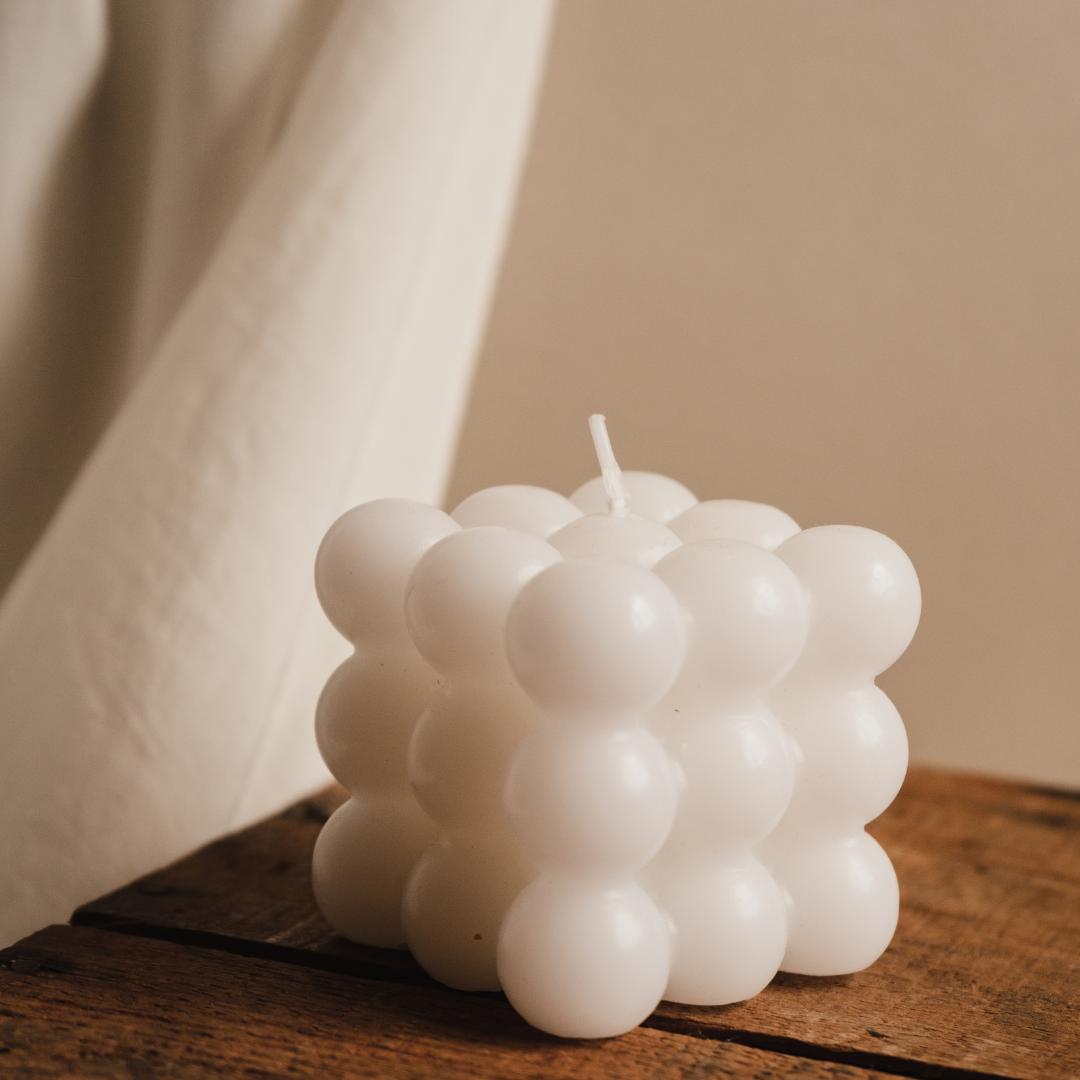
Making bubble candles can be a tomfoolery and imaginative undertaking! These candles are known for their special, bubble-like appearance. Here is a fundamental aide on the best way to make them:
Materials Required:
- Candle wax (soy, paraffin, or beeswax)
- Candle color (discretionary, for shading)
- Aroma oil (discretionary, for fragrance)
- Bubble candle shape (silicone molds work best)
- Flame wicks
- Twofold heater (for dissolving the wax)
- Thermometer (discretionary, for actually taking a look at wax temperature)
- Heat-safe compartment (to hold softened wax)
- Sticks or chopsticks (to hold the wick set up)
- Scissors (for managing the wick)
Directions:
- Set up the Form and Wick:
- Place the wick in the center of the mold. On the off chance that the shape doesn’t have an opening for the wick, you can make an opening or utilize a stick to keep the wick focused.
- Secure the wick set up utilizing sticks or chopsticks, resting them across the highest point of the shape.
- Dissolve the Wax:
- Utilizing a twofold heater, liquefy the wax. Try to warm it tenderly and abstain from overheating.
- On the off chance that you’re utilizing candle color, add it to the wax as it dissolves. Mix until completely broke up.
- Add Fragrance:
- When the wax is completely softened and has arrived at the ideal temperature (typically around 160-180°F or 71-82°C), you can add aroma oil whenever wanted. Mix well to guarantee the scent is uniformly appropriated.
- Pour the Wax:
- Cautiously empty the softened wax into the pre-arranged form. Fill it to the top, ensuring the wick stays focused.
- Permit the wax to cool and solidify totally. This can require a few hours.
- Unmold the Candle:
- When the flame is completely solidified, cautiously eliminate it from the form. On the off chance that the candles, you can put the shape in the cooler for a couple of moments to assist with delivering it.
- Trim the Wick:
- Trim the wick to around 1/4 inch (0.6 cm) over the light surface.